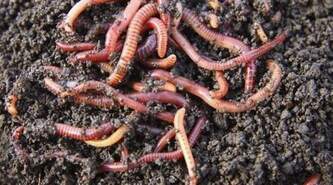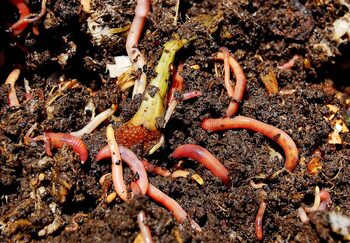
Typical earthworms you would find in your garden aren’t the kind of worm that’s best for vermicomposting. These kinds of worms live underground, can’t consume large amounts of food waste at a time, and don’t reproduce very well in confined spaces. Instead, you need a kind of worm called redworms, or red wigglers. Red wigglers reproduce rapidly and remain on the surface while feeding.
There are many kinds of bins that can be used to raise worms. Some of the most common ones are plastic bins. Bins should be well-ventilated, with many holes on the bottom and a couple rows of holes on the bottom half and middle of the bin. The bins should be raised off the ground, either with stakes or with legs attached to the bin, so that air can flow underneath the bin.
Before you add the worms, fill about half the bin with moist, shredded newspaper for bedding, and then add a handful of garden soil, which will add microorganisms to the bin which will help break down the food waste, as well as sand which “...worms use in their gizzard to grind food”.
Now it’s time to add your worms. You can buy your worms online. We have had good luck with Uncle Jim's Worm Farm. Now, place the bin in a cool, dark place where the temperature is more or less constant, where it won’t freeze in the winter or become too hot in the summer. Many people usually put them in their basement but you can also put it under your kitchen sink.
Worms do best when there are as few disturbances as possible. They dislike light, and whenever you open the lid, they stop feeding and seek cover below the surface. However, they still need food and water. Food waste provides some of the water they need, but you can also provide them with water by spraying the worm bed or by placing wet shredded newspaper on top of the bed.

As the worms eat the food you give them, they excrete dark casts, close to black, as their poop. These casts are very dense in nutrients and microorganisms, and are highly regarded for their ability to help plants grow.
Eventually the worm castings will need to be harvested. One method for harvesting the castings is the “dump and sort” method. First, dump the contents of the worm bin on a tarp in a lit place. Separate the castings from the uneaten food, and place the castings in several cone-like shapes. Since worms don’t like light, they will flee from the part of the cones that are exposed to the light, and move towards the center of the cone. Slowly scrape away castings (without removing any worms) from the top and sides of the cone until the worms are visible again. Eventually, you will be left with a small pile of worms. You can then put the worms back in the bin, and use the castings you have harvested.
Be sure not to let the bin get too wet, otherwise it can cause foul odors from anaerobic decomposition. But also be careful not to let it get too dry, otherwise it will slow down worm feeding and growth. Putting wet newspaper in the bin can increase moisture, and putting dry newspaper in can decrease moisture. The kind of food you put in the bin can also affect the level of moisture. Food that is left uncovered can attract fruit flies, but you can control them with fly traps, made of “...a small container with a tablespoon of apple cider vinegar and a reversed conical lid with a small hole cut at the bottom of the cone.”
Now that you know how to take care of composting worms, go out and try it yourself!
 RSS Feed
